
Our Guarantee
We stand behind our jobs! We will warranty any coating against cracking, peeling, and fading for as long as you own the firearm. Any job deemed warrantable will have return freight covered as well, if applicable.
However, please be advised, all contact surfaces will encounter normal wear, specifically on areas that rub together during normal operation. This is normal, as with the factory finish. We do not cover normal wear. Contact us for details.
Holsters
If you intend to holster your Cerakote firearm, there are a few care tips to help ensure your finish lasts. Kydex and similar hard plastic holsters (especially dusty ones) are notorious for stripping Cerakote from your firearm faster than anything we’ve encountered. Avoid using these or any other tight, hard-surfaced holsters, or see our holster lining instructions below. Instead, look into leather suede or microfiber lined options for best long-term results.
Kydex Holster Modification
Kydex, especially dusty Kydex holsters act like sandpaper on Cerakote firearms that will cause excessive wear in a very short period. However, due to overwhelming popularity of Kydex, we came up with a cheap modification that most individuals can do themselves for less that $5 in materials and 15 min. This has proven itself to be a great cost-effective method to ensure the finishes last years to come.
- Step 1 – Gather Materials
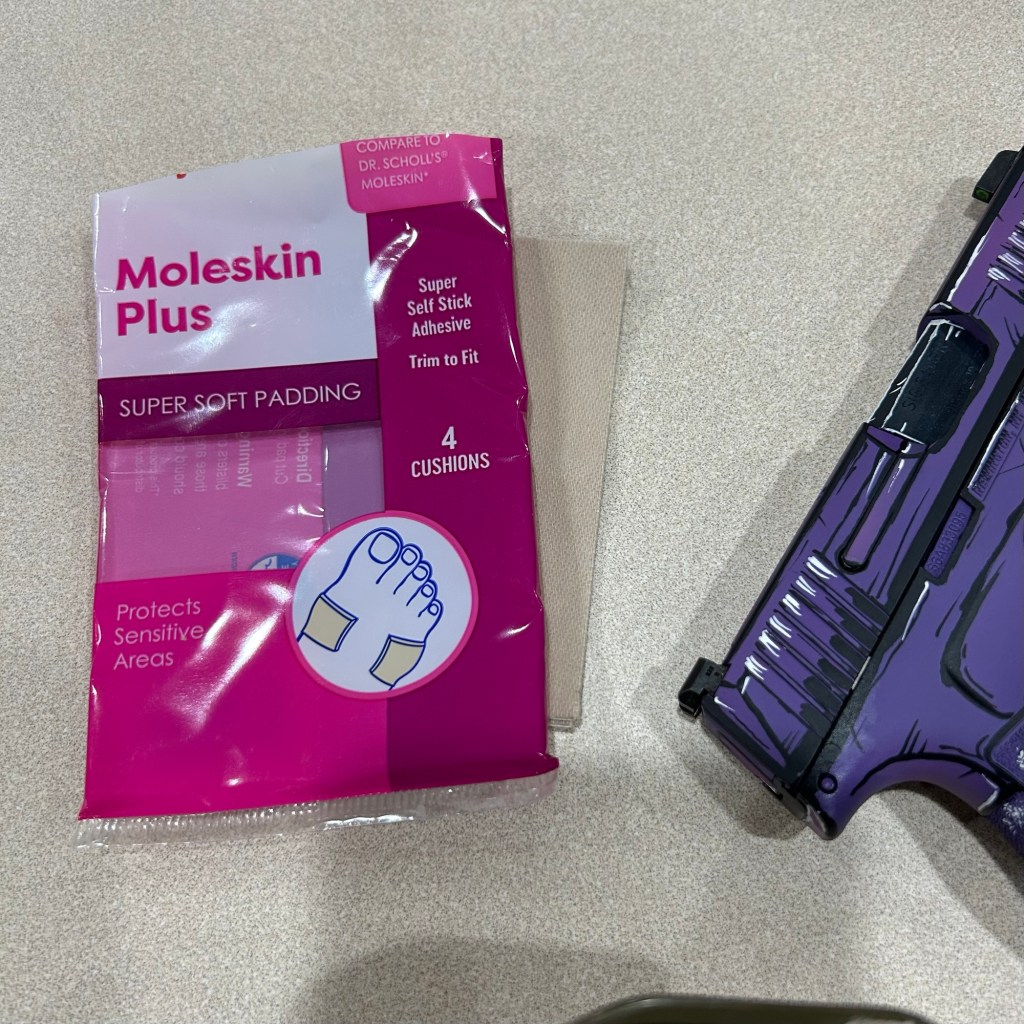
- Check you local drug/grocery store for a product called “Moleskin”. It is a stick-on padding used for blister relief in shoes, typically found in packs of (4) for less than $5.
- Step 2 – Disassemble + Clean

- Remove the screws that hold the base of the holster and waistband clips in place.
- Thoroughly clean with mild soap and water or a clean soft cloth wetted with rubbing alcohol.
- Step 3 – Trace + Trim to Size
- Helpful Tip: Trim to size BEFORE removing adhesive backing paper.
- Helpful Tip: trace and trim with backing paper facing towards you.

- Lay your first sheet of Moleskin over one side of the holster. Using a sharpie, trace the contact surface area of the holster.
- Be sure to trace/trim area where hardware goes, so as to not interfere when reassembled.
- Repeat other for other side.
- Step 4 -Confirm Fit
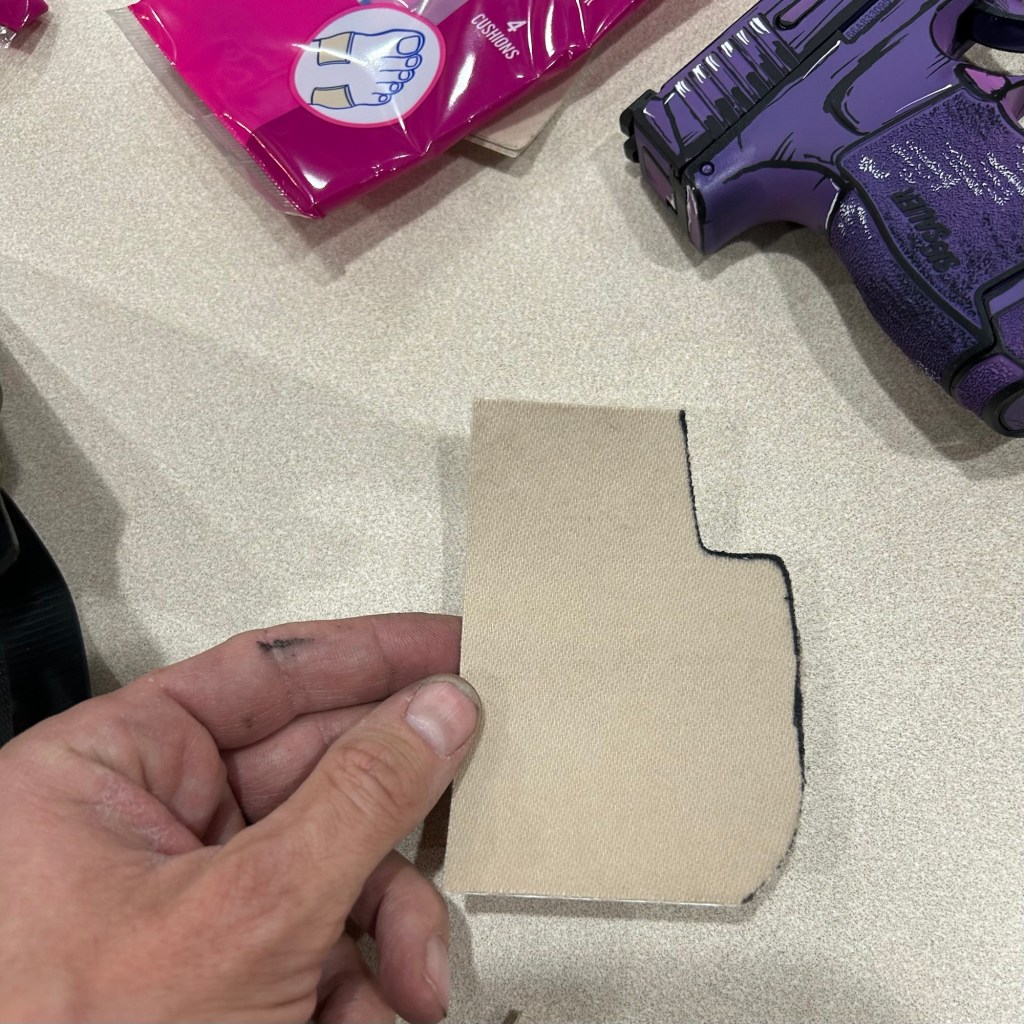
- Once trimmed, before peeling backing, lay inside the holster sides and ensure fit. Trim or redo as needed.
- Step 5 – Apply to Inside Holster
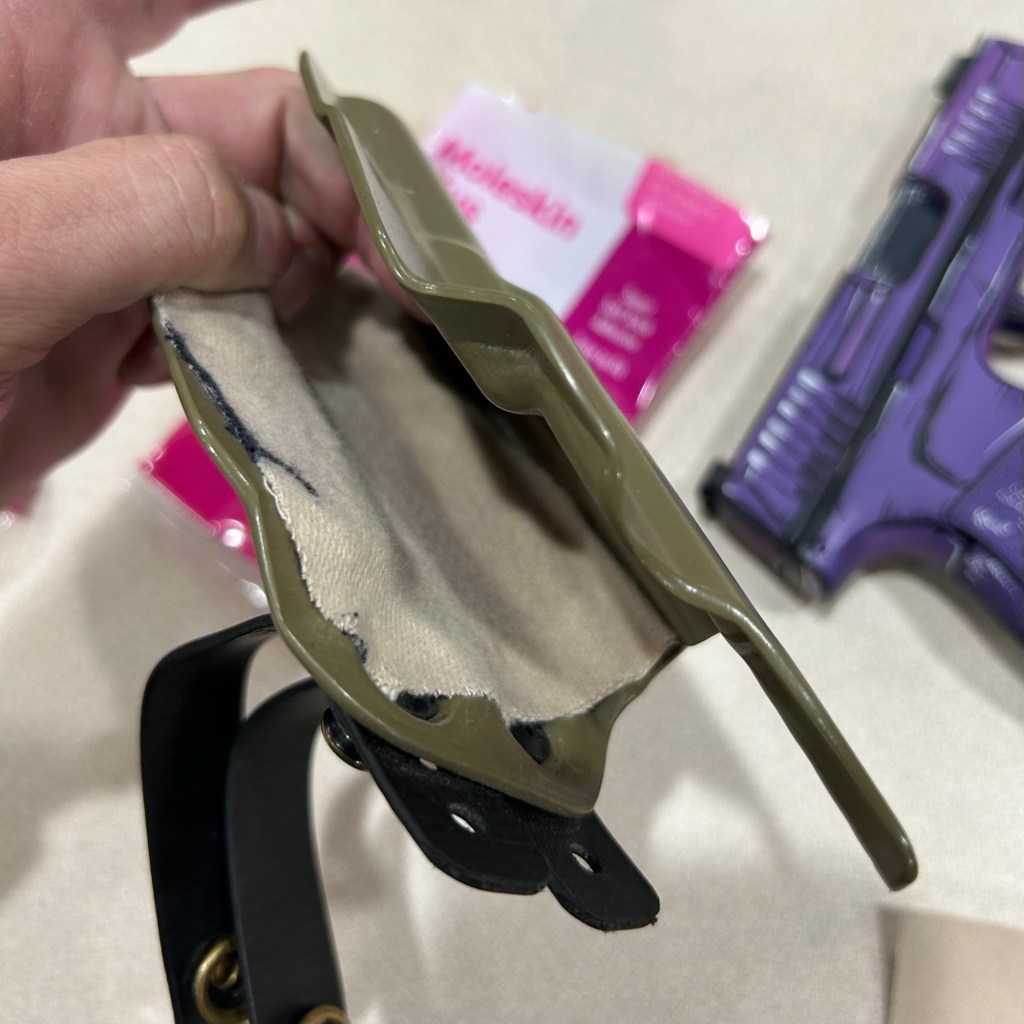
- Remove backing paper.
- Carefully align the trimmed pieces into each side of the holster.
- Pay close attention to alignment, ensuring applied to any surface that will contact your firearm. Test fit firearm in holster to verify.
- Step 6 – Reinstall Hardware
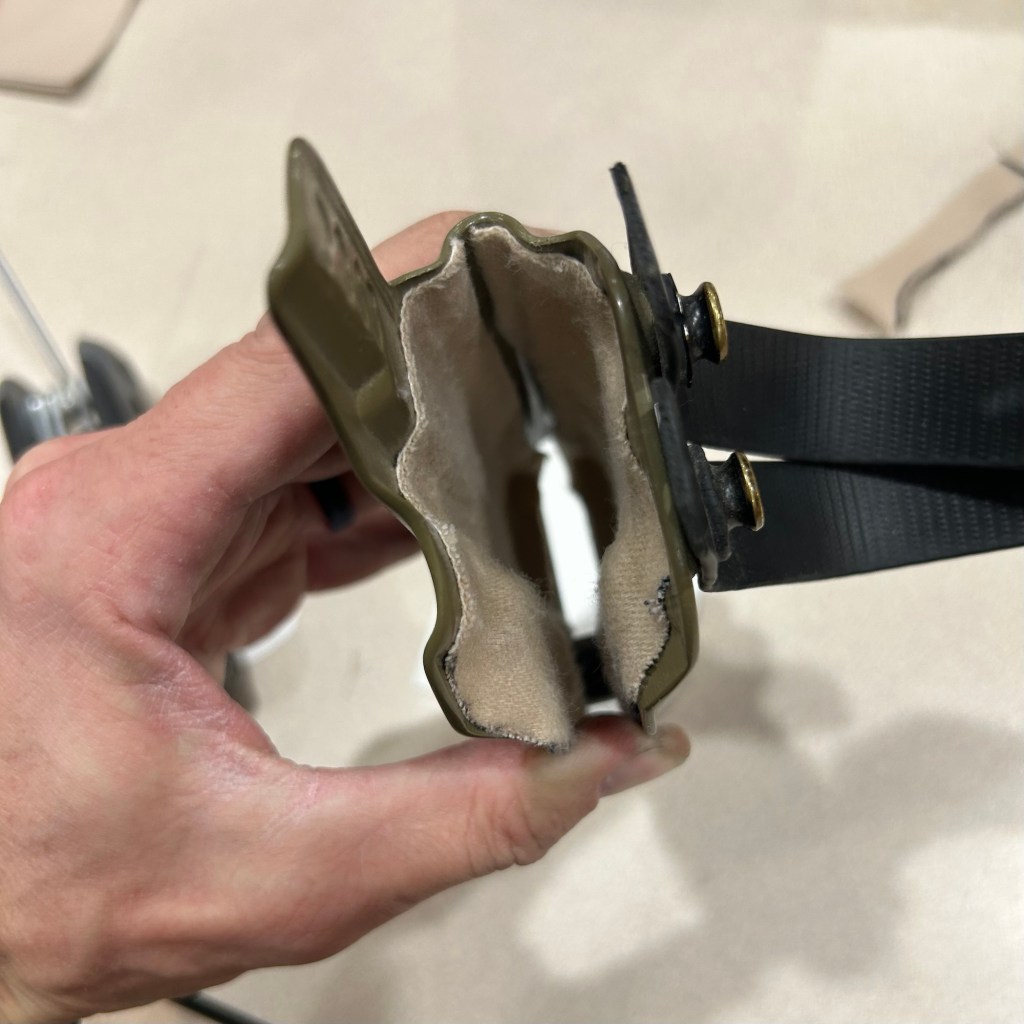
- Reinstall clips and screws.
- Test fit firearm in holster. Depending tension method by type/brand you may need to either adjust tension screws, or add a small shim/spacer to retaining screws to allow extra slack needed to offset padding.
- Step 7 – Confirm Fit + Hold

- Once fully back together, ensure the firearm can easily be placed into and taken out of holster, while being tight enough not to fall out when turned upside down.
- Adjust as necessary + Enjoy!
